How To Set-up Emails In Vista Mail
Activating your email account:
Before you proceed in configuring your email client, make sure you have created all your email accounts through your web based control panel under Mail.
After configuring and activating your email account, you may then proceed to configure your email client (eg. Eudora, Netscape Messenger, Outlook or Outlook Express).
Ensure you have the following details with you that are required to complete the process:
- Your full email address (e.g. yourname@yourdomain.com.au)
- Your email password.
- Your domain name.
This is used as both your incoming and outgoing mail server. If your website address was http://www.yourdomain.com.au your incoming and outgoing mail servers would be yourdomain.com.au (we ignore the http://www).
Setting up Email for the First Time
- Open Windows Vista Mail
- In the Tools menu select Accounts…

- Click on the Add button.

- Make sure E-mail Account is selected, and then click on Next

- Enter your Name, and then click on Next

- Enter your full email address, then click Next

- Make sure the Incoming e-mail server type should be POP3.
- Enter your Incoming mail server and Outgoing e-mail server addresses. If your website address was http://www.yourdomain.com.au your incoming and outgoing servers would be yourdomain.com.au (we ignore the http://www).
- If you are using your domain yourdomain.com.au to send emails (as opposed to your ISP’s outgoing mail server) you should click on the check box Outgoing server requires authentication.
- Click on the Next button.

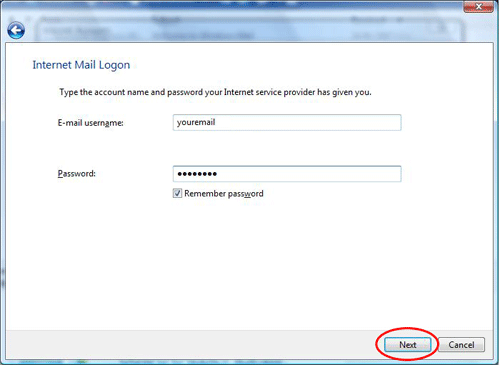
- Enter your email settings. The important points to remember are:
- E-mail username: If your email address was youremail@yourdomain.com.au your username would be your email
- Password: Make sure this has your password entered.
- Click on the Next button.

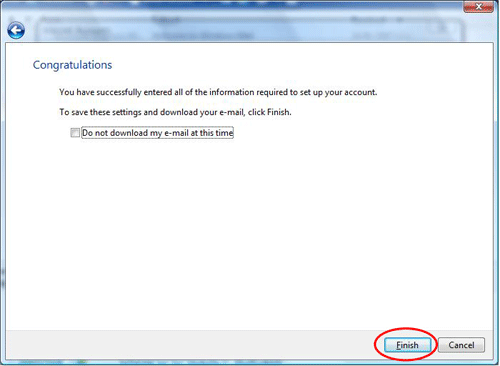
- Congratulations: simply click on the Finish button.


